Vamos a configurar el protocolo HTTPS para el acceso a nuestras aplicaciones, para ello tienes que tener en cuenta los siguiente.
1. Vamos a utilizar el servicio https://letsencrypt.org para solicitar los certificados de nuestras páginas.
Si queremos llevar a cabo la solicitud de los certificados para nuestras páginas dispongan de HTTPS verificado por Let’s Encrypt, tenemos que instalar el siguiente paquete:
apt install certbot
Como además, yo voy a hacer uso del plugin de Nginx para que Certbot además de solicitarnos, nos configure los ficheros de configuración de los distintos virtualhost, instalo este paquete:
apt install python3-certbot-nginx
Para solicitar el certificado y que lo instale el propio Certbot:
certbot --nginx
2. Explica detenidamente cómo se solicita un certificado en Let’s Encrypt. En tu explicación deberás responder a estas preguntas:
¿Qué función tiene el cliente ACME?
ACME, siglas de Automatic Certificate Management Environment, es un protocolo que lleva a cabo el agente Certbot y consiste en dos pasos:
-
Primero, se lleva a cabo la validación del dominio, hay que decir antes que nada, que al instalar Certbot, éste generará un par de claves para comunicarse con la CA. Este primer paso, no es más sino que demostrar a la autoridad certificadora que la página que estamos intentando validar es nuestra o somos los administradores de ella. Para este proceso, Let’s Encrypt nos posibilita dos retos a realizar, el llamado HTTP-01 Challenger, consiste en colocar un archivo con un determinado contenido en una ruta específica que nos indique Let’s Encrypt, si verifican que dicho archivo es correcto, la validación se lleva a cabo, y también disponemos del llamado DNS-01 Challenger, que consiste en crear un registro en la zona DNS con una determinada información.
-
En segundo lugar, se lleva a cabo la solicitud del certificado. Cuando hemos realizado el paso anterior, Certbot envía una solcitud de firma, es decir, un fichero .csr, a Let’s Encrypt, y este verifica la firma mediante las claves públicas-privadas generadas al inicio y si es correcta firma el certificado y se lo envía a Certbot.
¿Qué configuración se realiza en el servidor web?
En el servidor web tenemos que configurar el fichero de configuración del virtualhost a validar y especificarle las rutas donde se encontrarán tanto el certificado, como la clave privada mediante el cuál se generó el fichero .csr.
¿Qué pruebas realiza Let’s Encrypt para asegurar que somos los administradores del sitio web?
Comentado anteriormente.
¿Se puede usar el DNS para verificar que somos administradores del sitio?
Como he comentado anteriormente, sí, y de hecho es un método que nos permitirá al validar un dominio, que todos sus subdominios estén validados también, ya que mediante DNS habrá podido comprobar que somos realmente los administradores del sitio.
3. Utiliza dos ficheros de configuración de Nginx: uno para la configuración del virtualhost HTTP y otro para la configuración del virtualhost HTTPS.
Yo he utilizado solo un fichero de configuración para cada virtualhost, ya que Nginx te permite establecer en el mismo fichero, las configuraciones de http y https, por lo que, es una tontería crear dos ficheros si podemos utilizar uno.
Nos disponemos a pedir los certificados y a ver el proceso que nos enseña Certbot.
En primer lugar, voy a solicitar el certificado para la web www.iesgn15.es:
root@vpsjavierpzh:/etc/nginx/sites-available# certbot --nginx
Saving debug log to /var/log/letsencrypt/letsencrypt.log
Plugins selected: Authenticator nginx, Installer nginx

Which names would you like to activate HTTPS for?
- - - - - - - - - - - - - - - - - - - - - - - - - - - - - - - - - - - - - - - -
1: portal.iesgn15.es
2: www.iesgn15.es
- - - - - - - - - - - - - - - - - - - - - - - - - - - - - - - - - - - - - - - -
Select the appropriate numbers separated by commas and/or spaces, or leave input
blank to select all options shown (Enter 'c' to cancel): 2
Cert not yet due for renewal

You have an existing certificate that has exactly the same domains or certificate name you requested and isn't close to expiry.
(ref: /etc/letsencrypt/renewal/www.iesgn15.es.conf)

What would you like to do?
- - - - - - - - - - - - - - - - - - - - - - - - - - - - - - - - - - - - - - - -
1: Attempt to reinstall this existing certificate
2: Renew & replace the cert (limit ~5 per 7 days)
- - - - - - - - - - - - - - - - - - - - - - - - - - - - - - - - - - - - - - - -
Select the appropriate number [1-2] then [enter] (press 'c' to cancel): 1
Keeping the existing certificate
Deploying Certificate to VirtualHost /etc/nginx/sites-enabled/aplicacionesiesgn.conf

Please choose whether or not to redirect HTTP traffic to HTTPS, removing HTTP access.
- - - - - - - - - - - - - - - - - - - - - - - - - - - - - - - - - - - - - - - -
1: No redirect - Make no further changes to the webserver configuration.
2: Redirect - Make all requests redirect to secure HTTPS access. Choose this for
new sites, or if you're confident your site works on HTTPS. You can undo this
change by editing your web server's configuration.
- - - - - - - - - - - - - - - - - - - - - - - - - - - - - - - - - - - - - - - -
Select the appropriate number [1-2] then [enter] (press 'c' to cancel): 2
Redirecting all traffic on port 80 to ssl in /etc/nginx/sites-enabled/aplicacionesiesgn.conf

- - - - - - - - - - - - - - - - - - - - - - - - - - - - - - - - - - - - - - - -
Congratulations! You have successfully enabled https://www.iesgn15.es

You should test your configuration at:
https://www.ssllabs.com/ssltest/analyze.html?d=www.iesgn15.es
- - - - - - - - - - - - - - - - - - - - - - - - - - - - - - - - - - - - - - - -

IMPORTANT NOTES:
 - Congratulations! Your certificate and chain have been saved at:
   /etc/letsencrypt/live/www.iesgn15.es/fullchain.pem
   Your key file has been saved at:
   /etc/letsencrypt/live/www.iesgn15.es/privkey.pem
   Your cert will expire on 2021-02-23. To obtain a new or tweaked
   version of this certificate in the future, simply run certbot again
   with the "certonly" option. To non-interactively renew *all* of
   your certificates, run "certbot renew"
 - If you like Certbot, please consider supporting our work by:

   Donating to ISRG / Let's Encrypt:   https://letsencrypt.org/donate
   Donating to EFF:                    https://eff.org/donate-le

root@vpsjavierpzh:/etc/nginx/sites-available#
Vemos que a la hora de ejecutar el comando, nos identifica todos los virtualhost que poseemos, y tan solo tenemos que seleccionar para cual queremos el certificado. Acto seguido, nos pregunta si queremos que el certificado se renueve de manera automática, también nos pregunta si queremos que el propio Certbot nos realice toda la configuración en el fichero de configuración del virtualhost.
De nuevo realizo el mismo proceso, esta vez para el virtualhost portal.iesgn15.es:
root@vpsjavierpzh:/etc/nginx/sites-available# certbot --nginx
Saving debug log to /var/log/letsencrypt/letsencrypt.log
Plugins selected: Authenticator nginx, Installer nginx

Which names would you like to activate HTTPS for?
- - - - - - - - - - - - - - - - - - - - - - - - - - - - - - - - - - - - - - - -
1: portal.iesgn15.es
2: www.iesgn15.es
- - - - - - - - - - - - - - - - - - - - - - - - - - - - - - - - - - - - - - - -
Select the appropriate numbers separated by commas and/or spaces, or leave input
blank to select all options shown (Enter 'c' to cancel): 1
Obtaining a new certificate
Performing the following challenges:
http-01 challenge for portal.iesgn15.es
Waiting for verification...
Cleaning up challenges
Deploying Certificate to VirtualHost /etc/nginx/sites-enabled/drupal.conf

Please choose whether or not to redirect HTTP traffic to HTTPS, removing HTTP access.
- - - - - - - - - - - - - - - - - - - - - - - - - - - - - - - - - - - - - - - -
1: No redirect - Make no further changes to the webserver configuration.
2: Redirect - Make all requests redirect to secure HTTPS access. Choose this for
new sites, or if you're confident your site works on HTTPS. You can undo this
change by editing your web server's configuration.
- - - - - - - - - - - - - - - - - - - - - - - - - - - - - - - - - - - - - - - -
Select the appropriate number [1-2] then [enter] (press 'c' to cancel): 2
Redirecting all traffic on port 80 to ssl in /etc/nginx/sites-enabled/drupal.conf

- - - - - - - - - - - - - - - - - - - - - - - - - - - - - - - - - - - - - - - -
Congratulations! You have successfully enabled https://portal.iesgn15.es

You should test your configuration at:
https://www.ssllabs.com/ssltest/analyze.html?d=portal.iesgn15.es
- - - - - - - - - - - - - - - - - - - - - - - - - - - - - - - - - - - - - - - -

IMPORTANT NOTES:
 - Congratulations! Your certificate and chain have been saved at:
   /etc/letsencrypt/live/portal.iesgn15.es/fullchain.pem
   Your key file has been saved at:
   /etc/letsencrypt/live/portal.iesgn15.es/privkey.pem
   Your cert will expire on 2021-02-23. To obtain a new or tweaked
   version of this certificate in the future, simply run certbot again
   with the "certonly" option. To non-interactively renew *all* of
   your certificates, run "certbot renew"
 - If you like Certbot, please consider supporting our work by:

   Donating to ISRG / Let's Encrypt:   https://letsencrypt.org/donate
   Donating to EFF:                    https://eff.org/donate-le

root@vpsjavierpzh:/etc/nginx/sites-available#
4. Realiza una redirección o una reescritura para que cuando accedas a HTTP te redirija al sitio HTTPS.
Al escoger el plugin de Nginx, el propio Certbot te pregunta si quieres que también te cree la redirección permanente para que siempre se acceda a la página por HTTPS. Vamos a echarle un vistazo a las líneas que configura. Al final de nuestro fichero de configuración del virtualhost ha añadido:
...

listen [::]:443 ssl ipv6only=on; # managed by Certbot
listen 443 ssl; # managed by Certbot
ssl_certificate /etc/letsencrypt/live/www.iesgn15.es/fullchain.pem; # managed by Certbot
ssl_certificate_key /etc/letsencrypt/live/www.iesgn15.es/privkey.pem; # managed by Certbot
include /etc/letsencrypt/options-ssl-nginx.conf; # managed by Certbot
ssl_dhparam /etc/letsencrypt/ssl-dhparams.pem; # managed by Certbot

}

server {
  if ($host = www.iesgn15.es) {
      return 301 https://$host$request_uri;
  } # managed by Certbot


      listen 80;
      listen [::]:80;

    server_name www.iesgn15.es;
  return 404; # managed by Certbot


}
Podemos ver como automáticamente, nos ha añadido las líneas que nos establecen la configuración de los certificados y nos ha creado la redirección hacia HTTPS.
5. Comprueba que se ha creado una tarea cron que renueva el certificado cada 3 meses.
Vamos a comprobar que Certbot también nos ha creado una tarea cron que renovará los certificados de manera automática cada 3 meses. Para ello visualizamos el fichero /etc/cron.d/certbot:
root@vpsjavierpzh:~# cat /etc/cron.d/certbot

SHELL=/bin/sh
PATH=/usr/local/sbin:/usr/local/bin:/sbin:/bin:/usr/sbin:/usr/bin

0 */12 * * * root test -x /usr/bin/certbot -a \! -d /run/systemd/system && perl -e 'sleep int(rand(43200))' && certbot -q renew
Estas líneas lo que hacen es comprobar cada 12 horas como indica ahí, (12 horas = 43200 segundos), si al certificado le quedan menos de 30 días de validez, y si es así, lo renueva.
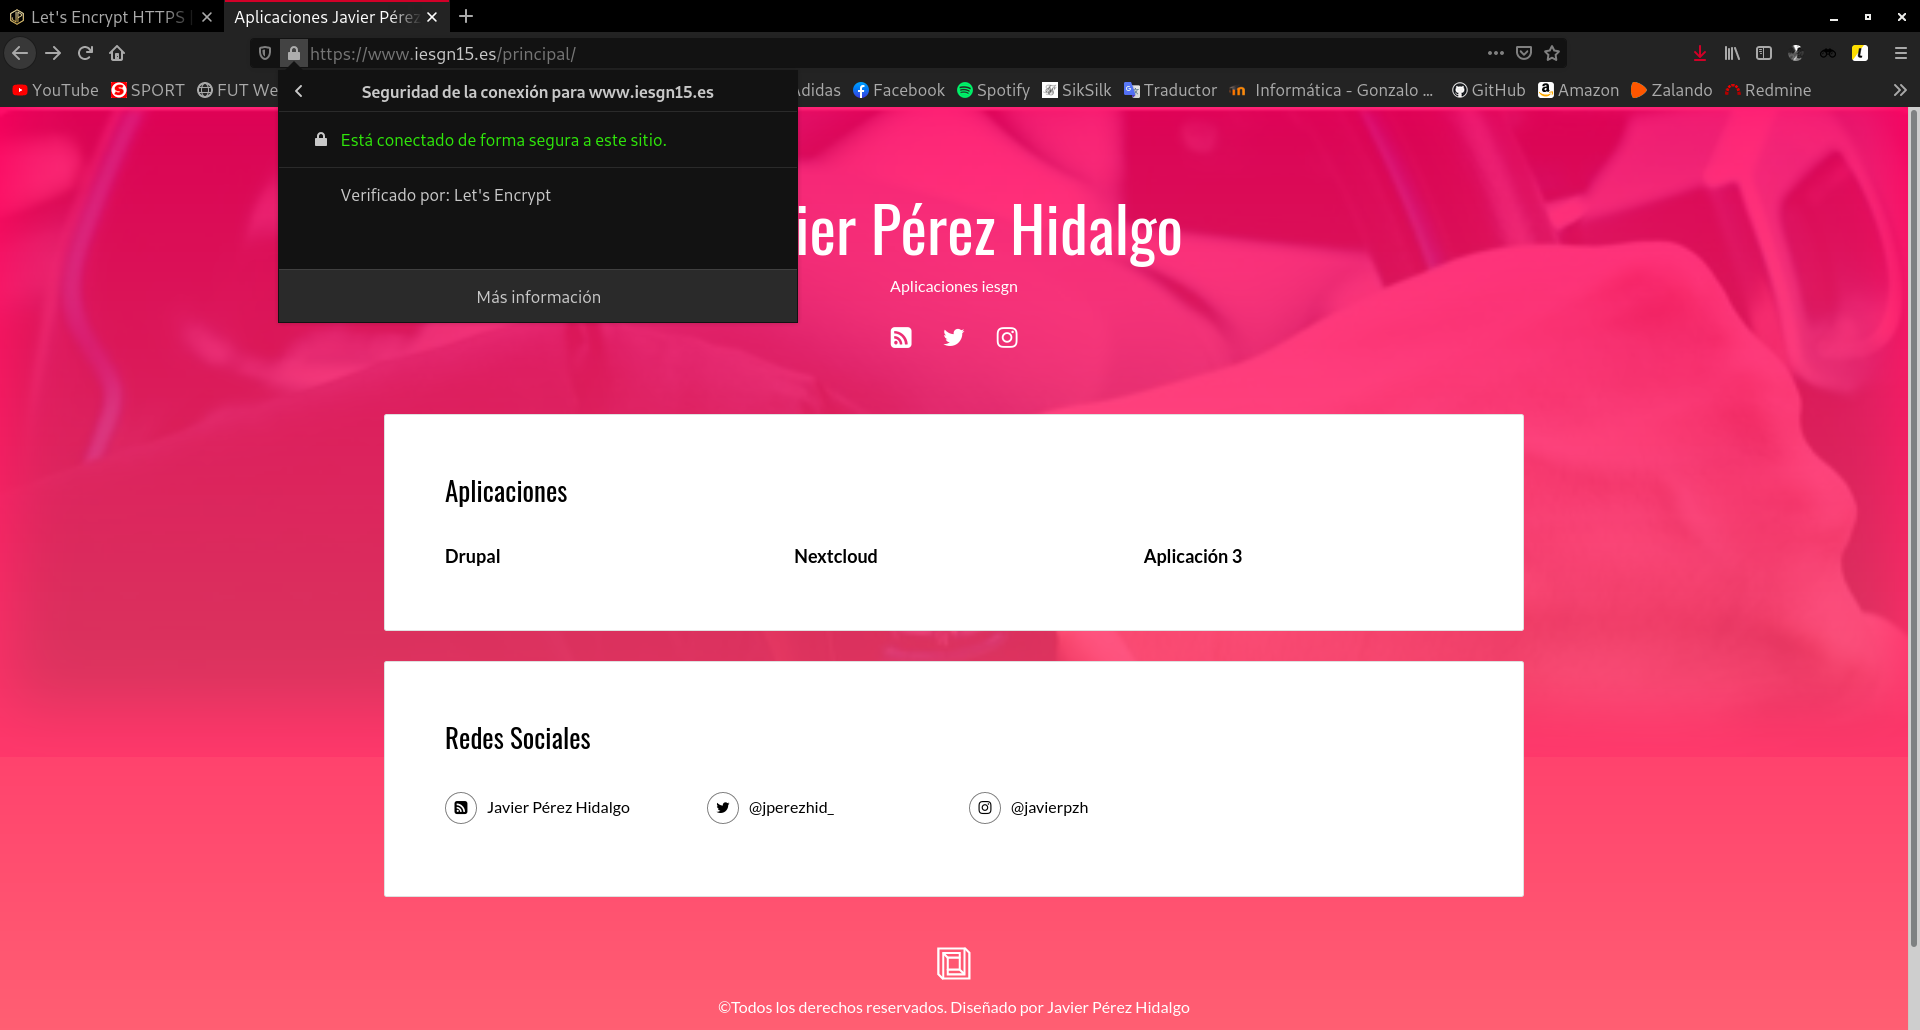
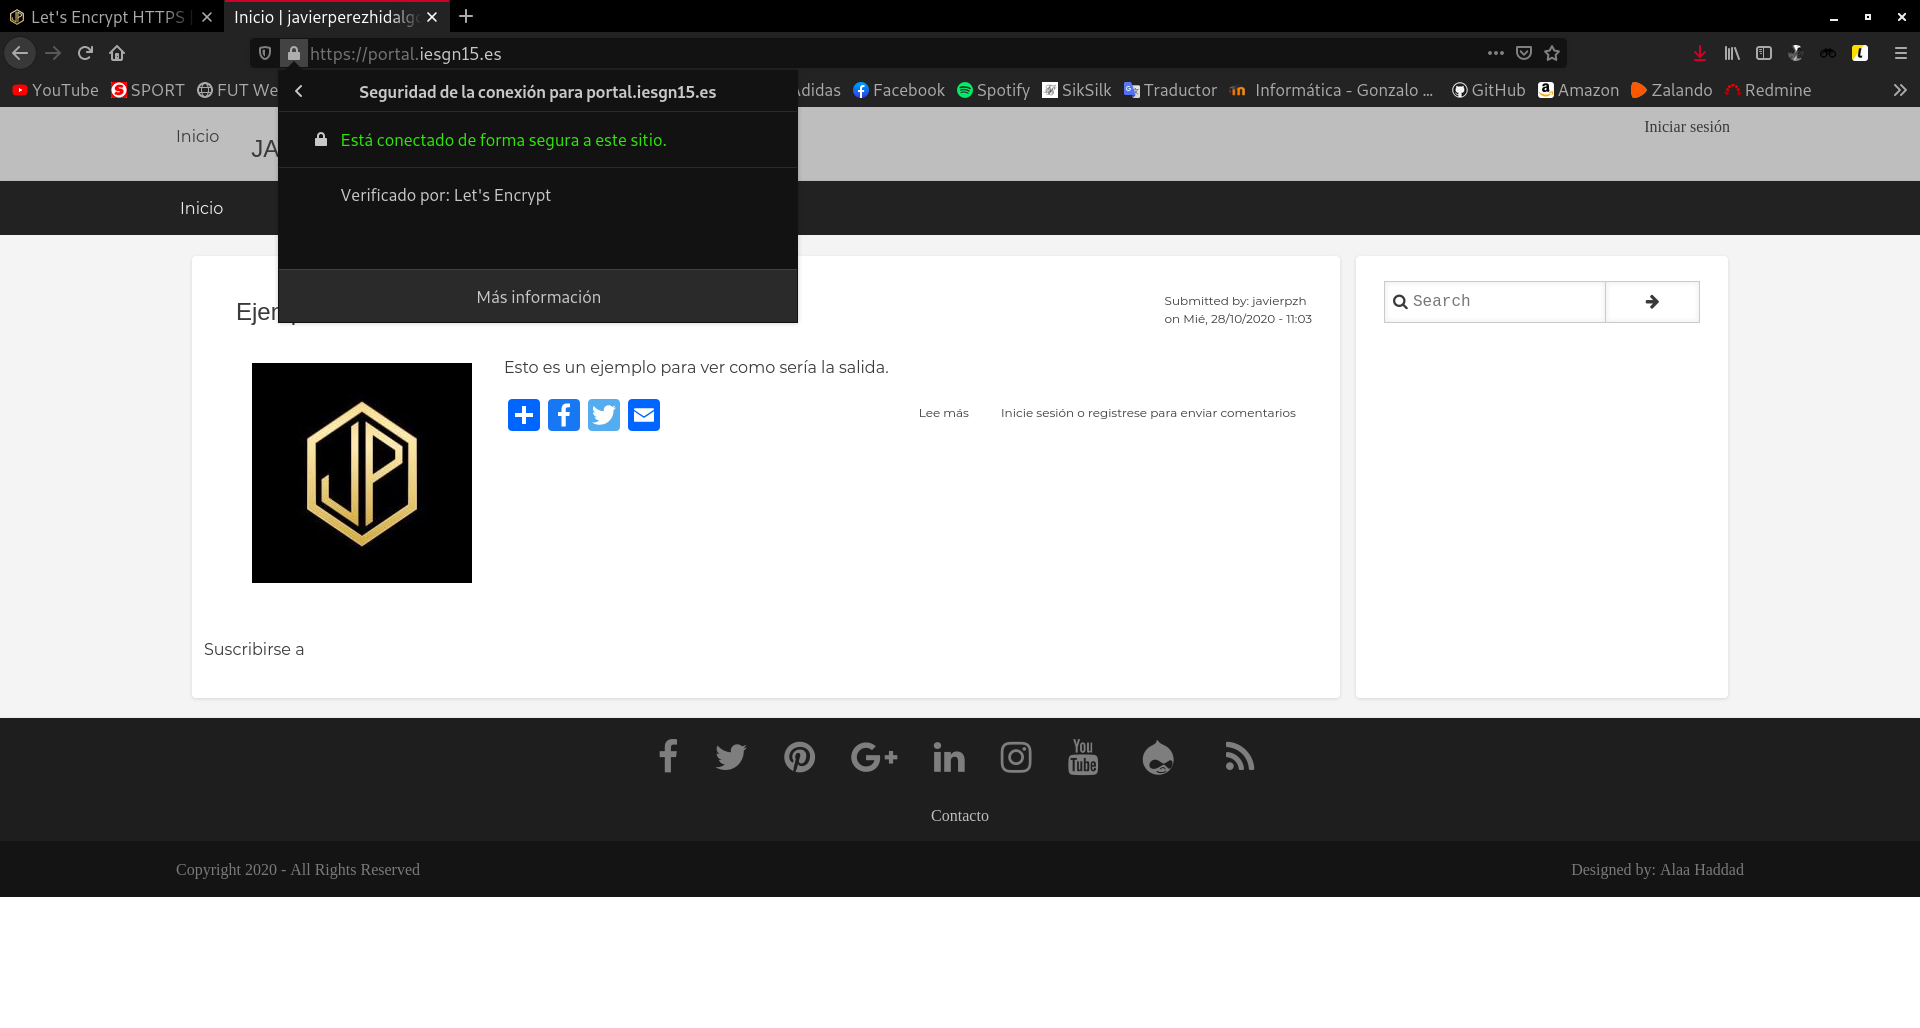
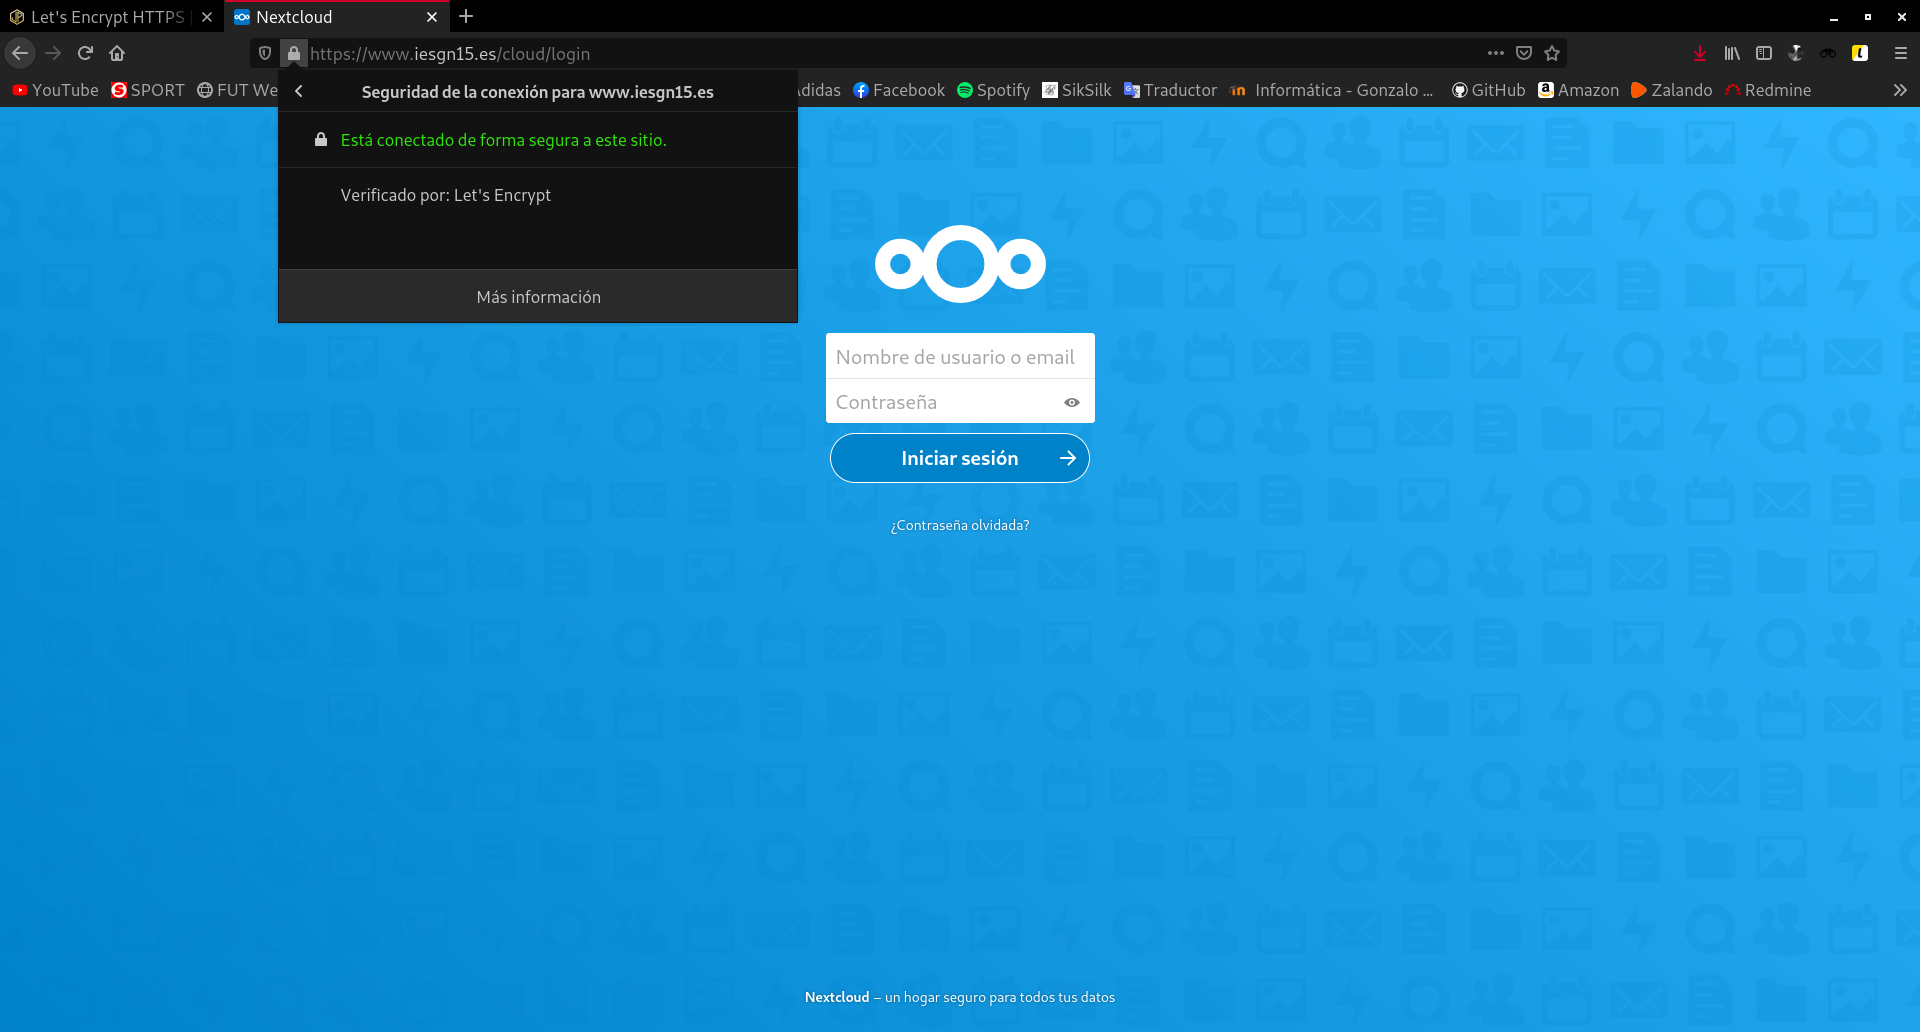
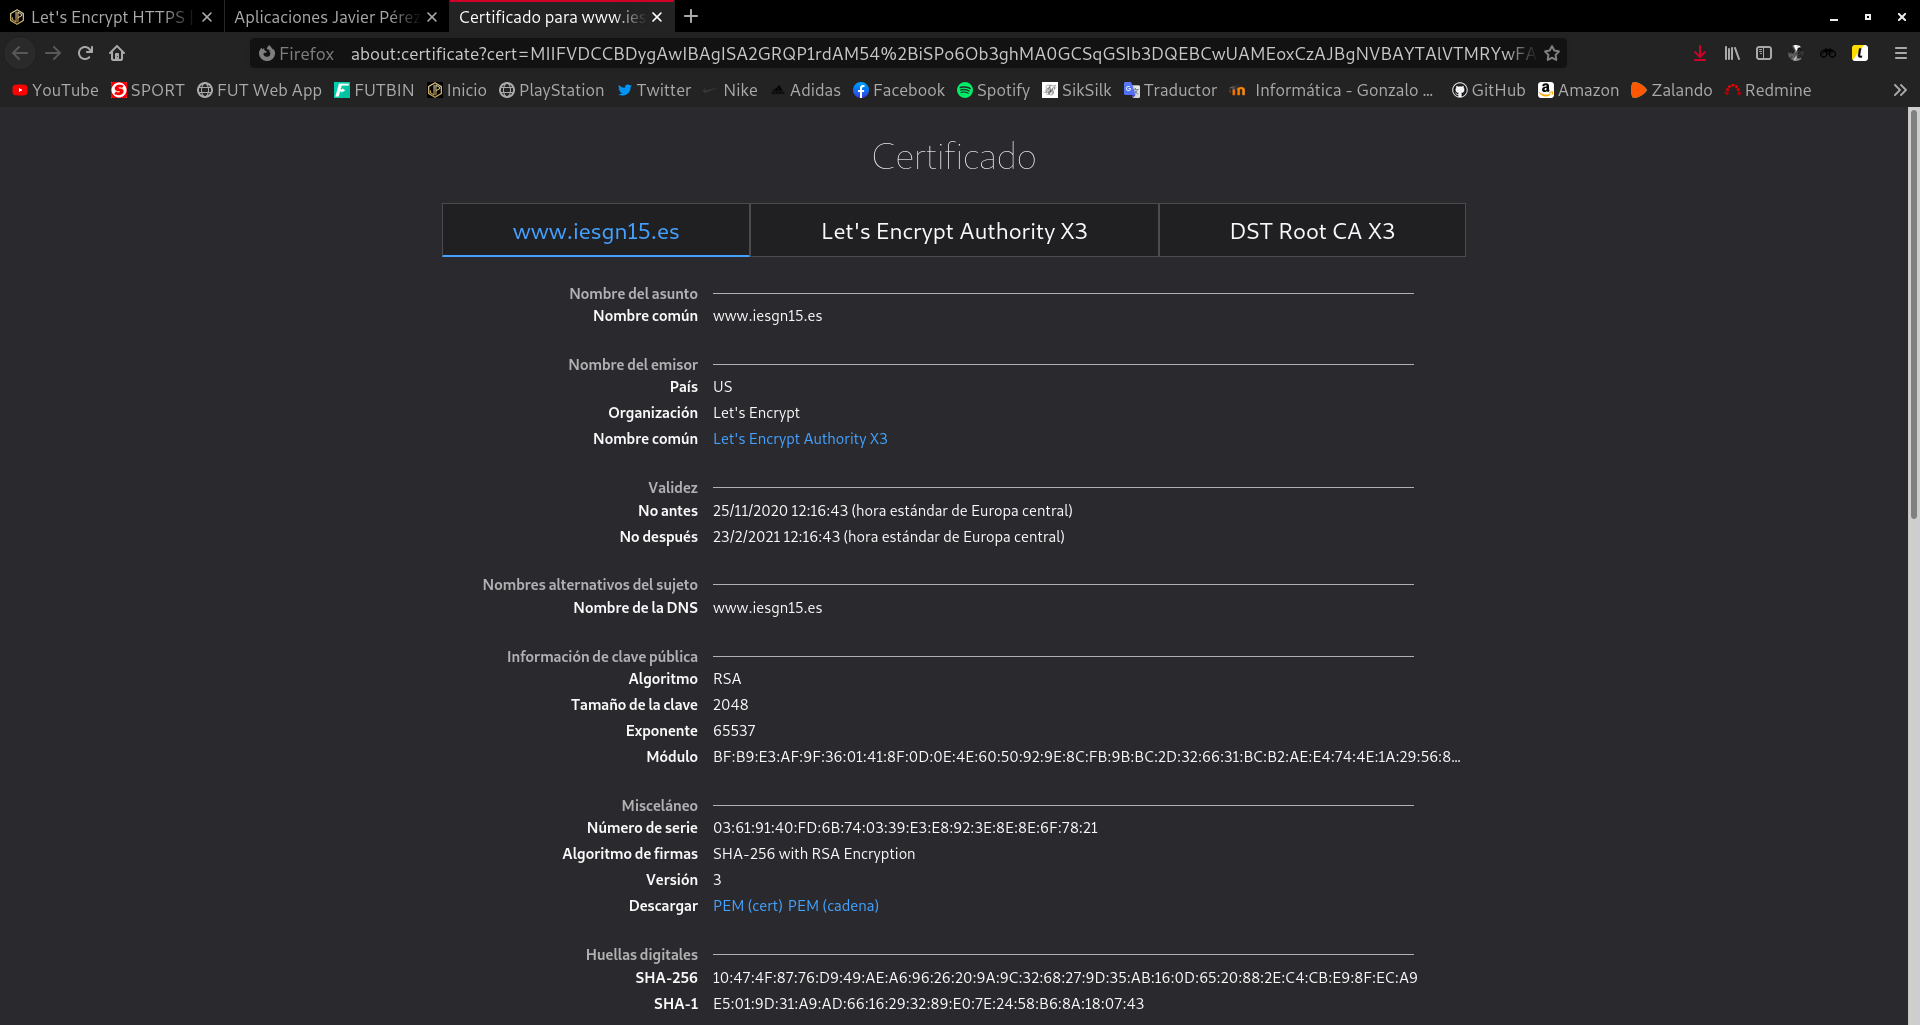
6. Comprueba que las páginas son accesible por HTTPS y visualiza los detalles del certificado que has creado.
Accedemos a www.iesgn15.es:
Accedemos a portal.iesgn15.es:
Accedemos a www.iesgn15.es/cloud, que es la dirección de la aplicación Nextcloud:
Si vemos los detalles del certificado:
7. Modifica la configuración del cliente de Nextcloud para comprobar que sigue en funcionamiento con HTTPS.
Nos dirigimos ahora a nuestro cliente de Nextcloud, que recordemos que está configurado para la dirección http://www.iesgn15.es/cloud:
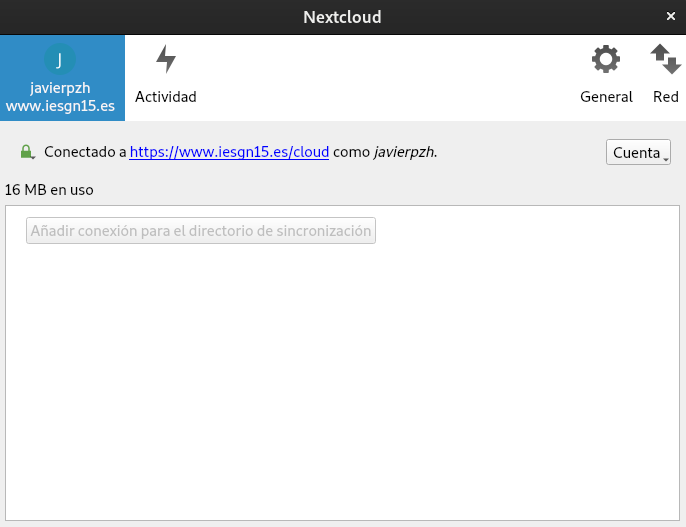
Vemos como a pesar de no estar configurado para que use HTTPS, nos redirige automáticamente gracias a la redirección permanente que hemos creado, por tanto no haría falta volver a configurarlo.